Snowshoeing for Beginners: The Ultimate Newbie’s Guide
Oh, the weather outside is frightful… or say they say. Why stay inside curled up by the fire when there’s adventures to be had? And we think that snowshoeing is one of the best (not to mention most affordable) ways to get outside and stay mentally and physically active during the winter. This snowshoeing for beginner’s guide will show you the ropes as you embark on learning something new. We’ll cover everything from the best types of snowshoes for beginners, the technique for snowshoeing in different types of terrain, how to dress, how to stay safe, and where to go snowshoeing. Let’s go!
This post contains affiliate links and we may make a small commission if you decide to purchase any products we recommend. We appreciate it if you do because it helps keep this blog going!

Looking for more things to do in Utah in the winter? Try one of these 25 Christmas activities in Utah!
Reasons to try snowshoeing
Good exercise – Snowshoeing is similar to hiking, which can really get your heart going especially as you head up a nice incline. But with snowshoeing, you have the added weight of the snowshoes, the effort of plowing through the snow, and taking wider, more deliberate steps. It can really burn some calories!
Great for mental health – Getting outdoors in nature has many mental health benefits. It’s proven to improve your mood, reduce stress, increase vitamin D which reduces depression, and much more. And snowshoeing is an awesome, low-impact way to get outside in the winter even when it’s cold and snowy.
More affordable – While skiing and snowboarding are the most popular winter sports, they come with huge expenses. Skis & boots can cost over a thousand dollars and lift tickets can cost over $100 per day. Snowshoeing on the other hand is super affordable and most trails are free.
If you’re in Utah and looking for snowshoe rentals, we recommend JJ’s Rentals – snowshoe rentals in Lehi for just $10/day!
Bonding time with friends & family – We think any sport or outdoor activity makes for fun family bonding, but with other sports you’re on the go so much you don’t really have a chance to slow down and talk. But with snowshoeing, it’s just you and the solitude of the trail so you have a chance to have long conversations. Plus, it’s a fun cheap date idea!
No lessons required – Most winter sports like skiing, snowboarding, or even cross-country skiing require lessons and take time to learn and master. But snowshoeing is so easy that you can just grab your snowshoes, read a few pointers and tips on snowshoeing for beginners (see below for different techniques, like how to get up if you fall in deep snow), and off you go.
Safer alternative – many outdoor activities in the winter come with lots of risk, especially something like skiing in the backcountry. While you still need to be smart about taking safety precautions and check for avalanche danger (see tips below), snowshoeing is a safer alternative to many other winter sports.
What are the best snowshoes for beginners?
If you’re just getting into snowshoeing for the first time, renting gear is the best way to get started. You can rely on your local rental shop to get you set up with the proper gear for your weight and local terrain conditions.
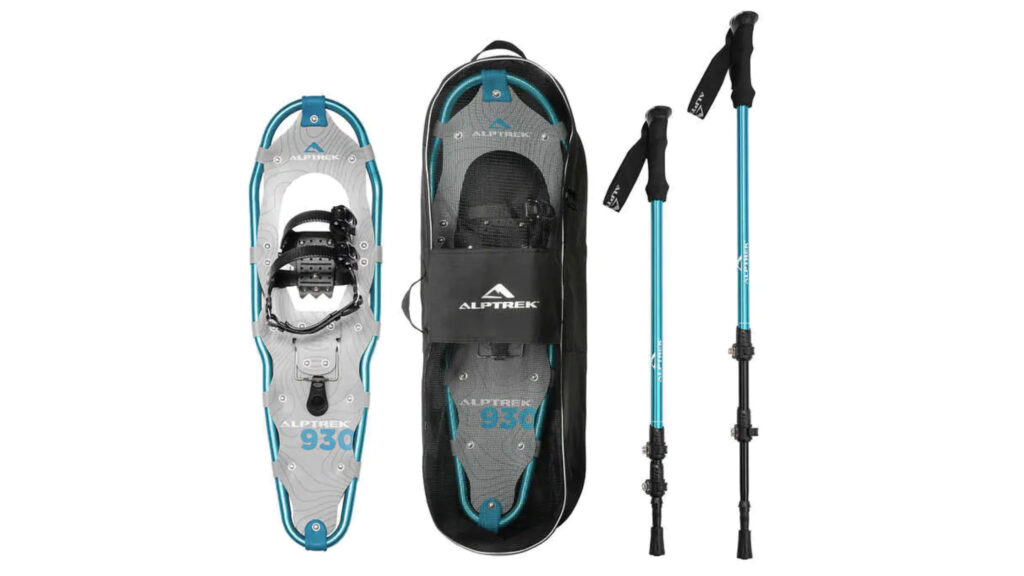
If you want to buy your first pair of snowshoes, flat terrain snowshoes are the best option when it comes to snowshoeing for beginners. These entry-level snowshoes offer a good value and usually cost under $100. Snowshoes are sized according to weight, but don’t just think about your own weight. Consider the weight of your backpack or child carrier as well. We recommend the Alptrek snowshoes from Cascade Mountain Tech.
Snowshoeing for beginners – learning the techniques
How to snowshoe on flat terrain – Snowshoeing on flat terrain is relatively intuitive and doesn’t require any special technique. The only thing to remember is to keep your stride a little wider than usual to avoid stepping on the inside of the snowshoe frames.
How to use poles – Poles are optional for flat terrain but will come in handy when going up and down hills and will help you keep your balance. The trick with the adjustable poles that come with your snowshoes is to adjust them to the proper height. Grip the pole and put the tip on the ground, then adjust the height until your elbow is at a 90-degree angle.
How to snowshoe uphill – As you ascend hills, rely on your toe-side to get traction. In powdery snow, you can use the kick-step technique to go straight up hill. Or you can create a zig-zag pattern and traverse your way up the hill.
How to snowshoe downhill – As you descend hills, try to keep your body weight slightly back and on your heels while keeping your poles planted in front of you for balance. If you start to slip, just sit down.
How to get up after falling in deep snow – You probably won’t fall often, especially on flat terrain. Most slips occur on the descent if the hill is steep. If you feel yourself starting to fall, try to fall uphill. That way, you can use the slope of the hill to push yourself back up. Otherwise, turn your body until you can do just that. Another option is to use your poles to push yourself back up. First, take your hands out of the straps. Make an ‘X’ in front of you with the poles and use the center of the ‘X’ as support to push yourself back up.
How to dress for snowshoeing?
Dressing appropriately for snowshoeing is not the same as dressing for other winter activities, like skiing. You will be working up a sweat vs trying to stay as warm as possible. The name of the game is layers!
Base layer – Do not wear anything 100% cotton as a base layer for snowshoeing. You will work up a sweat, the cotton will absorb it and make it very hard to stay warm once you cool off. You’ll a need a lightweight, moisture-wicking base layer like these long johns.
Mid layer – The mid layer is all about staying warm and insulated, so get some good softshell pants or sweats and a fleece pullover.
Outer layer – For your outer layer, you’ll want something lightweight and waterproof, and preferably with ventilation zippers to help you cool off when needed. Try this North Face jacket or this Marmot waterproof jacket for a more affordable option.
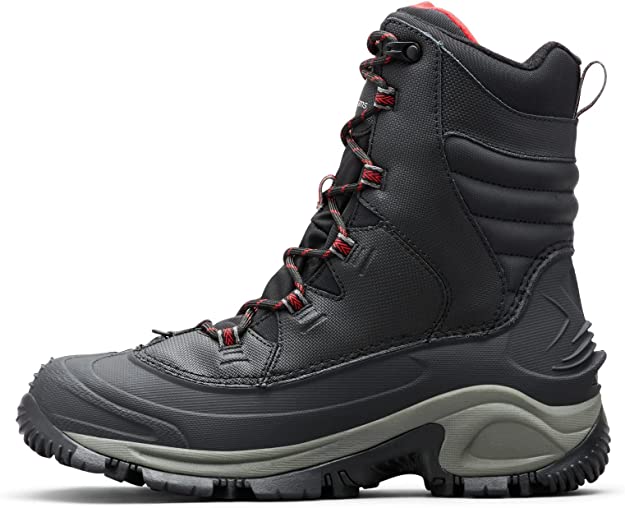
Boots – You have two options for boots but either way make sure you have something waterproof, or you could get very cold very quickly. One option is to wear waterproof winter boots like these Columbia boots. The other option is to wear waterproof hiking boots like these with some gaiters to keep snow out.
Socks – I used to always get cold feet while out in the snow until I found these Stance ski socks. They’re knee-length compression socks designed for cold weather and they are all you need. No more doubling up or buying those uncomfortable heat packs. One pair of these ski socks and your feet will stay dry and warm the entire time you’re out snowshoeing.
Gloves & hat – Ski gloves and any old beanie will do, as long as your ears and head stay covered. But you might get too warm and end up taking them off and that’s OK. Remember the name of the game is layers, so you can remove and replace the layers as needed.
Sun protection – Sunglasses & sunscreen are a must! You probably won’t need ski goggles unless you’re planning on snowshoeing in inclement weather. But if it’s a sunny day, don’t underestimate how badly your face can get sunburned. The sun reflects off the white snow and can burn more quickly than you’d expect out in the cold.
How to stay safe while snowshoeing?
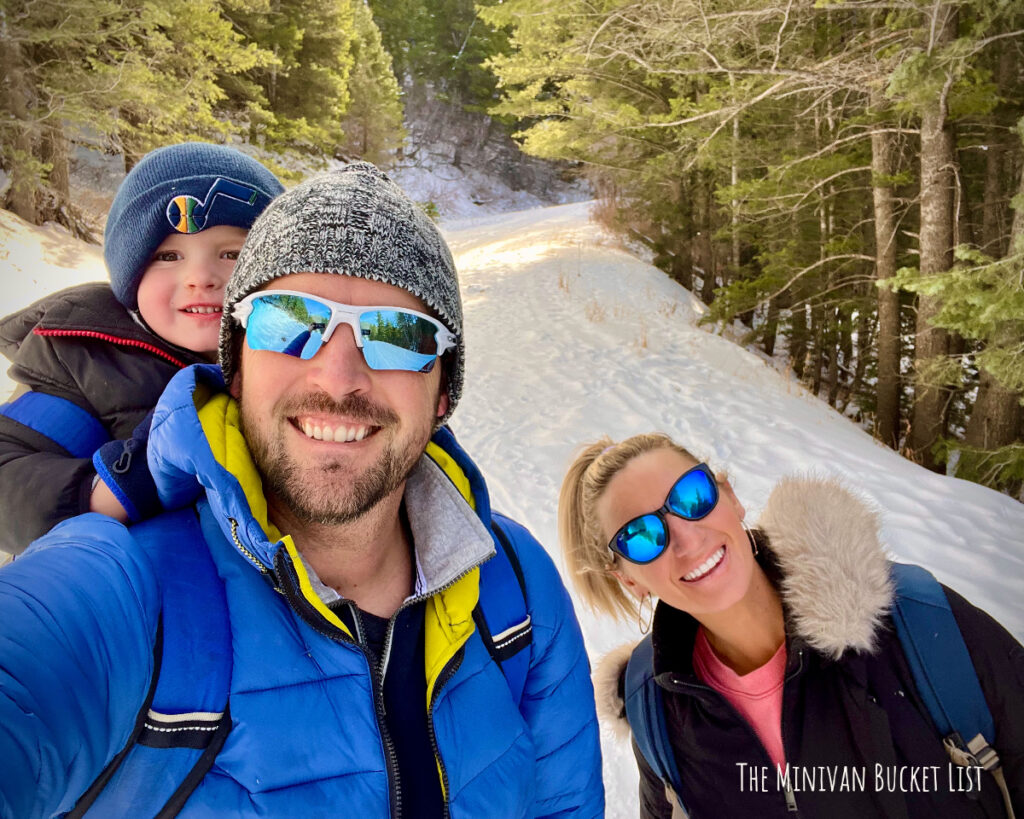
While the actual sport itself is much lower risk than something like skiing or snowboarding, because you’re basically just hiking in the snow, there are still risks involved. Those risks are mainly related to the weather, avalanche danger, wildlife, and the potential to get lost. So always check the forecast and check for avalanche danger wherever you plan to go. Let someone know where you’re going and when to expect you back in case something happens. Get in the habit of bringing the Ten Essentials as well as an emergency blanket or any other emergency supplies you think you might need. Always prepare for the worst when venturing into the outdoors in the winter.

Where to go snowshoeing for beginners?
The best snowshoeing trails for beginners are going to be relatively flat, so check the All Trails site or app for easy, short trails near you. Avoiding deep snow at high elevations as you’re just getting started is a good idea as well, so try to look for trails below 8,000 feet. Avoiding trails that ascend steep hills also minimizes avalanche danger. If you can, look for local nordic centers, which tend to have trails designated for snowshoers, not just cross-country skiers. However, anywhere you hike in the summer can also be used for snowshoeing in the winter. It does take a little bit of homework. If you can’t find good info from Google or All Trails, ask local experts at rental shops where they suggest going.
Where to go snowshoeing in Utah?
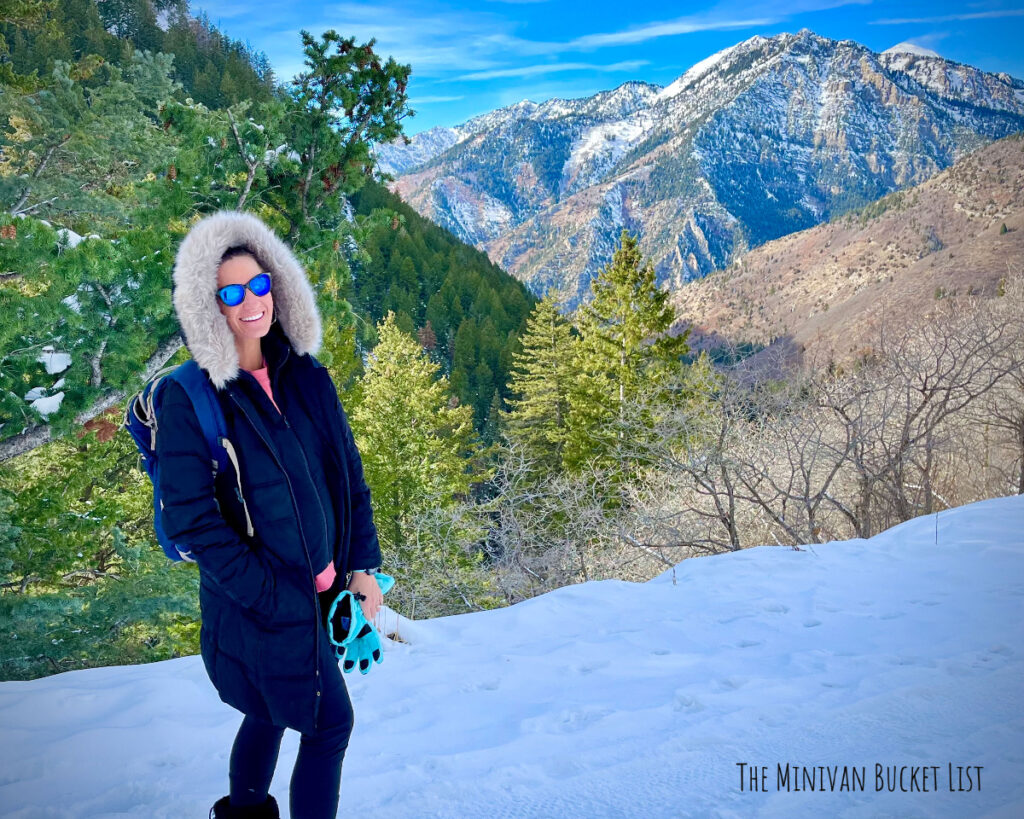
Our family loves to go snowshoeing in the winter in Utah, especially to keep our kids active and outside when it’s cold. Utah has some fantastic snowshoeing for beginners and experts alike, so we did a roundup of the top 10 snowshoeing trails in Utah. Here’s a preview:
- Sundance Nordic Center
- Solitude Nordic Center
- Alpine Loop Road
- Battle Creek Falls
- Pine Hollow Trail, American Fork Canyon
- Millcreek Canyon
- Donut Falls, Big Cottonwood Canyon
- Stewart Falls
- Fifth Water or Diamond Fork Hot Springs
- Bryce Canyon
Click here to read the details!

If you need to rent snowshoes in Utah, we recommend getting them from JJ’s Rentals in Lehi!
Happy trails and thanks for reading!
–JJ & Brittany🤘🏻
Our family is on a mission to experience the best our home state of Utah has to offer and help other families find affordable, kid-friendly adventures in the process. You can follow us on Instagram @theminivanbucketlist or download our free printable Utah Bucket List for a list of the top hikes in the great state of Utah, both for kid-friendly and more adventurous hikes.
Check out our other hiking posts:
